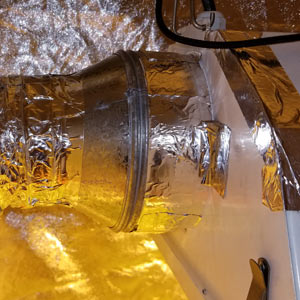
A four-to-six inch HVAC duct transition connector was used to attach a four inch inline fan on a six inch air-cooled light fixture.
Looking to cool a 6 inch air-cooled grow light with a 4 inch fan? Heres what I did when I found myself in a pinch and only have a 4″ inline fan to use with a 6″ air cooled grow light fixture in a small 2’x4′ grow tent environment.
Step 1: A 4″ carbon and filter was attached with flexible 4″ duct and taped with aluminum tape to an aluminum 4″ to 6″ HVAC converter. That 6″ converter was then taped on to the end of the grow light fixture.
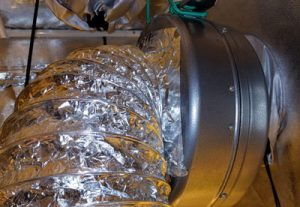
Step 2: At the other end of the light fixture a 6″ flexible duct tubing was taped on to a 4″ inline fan completely sealing the opening. Just try and center the six inch tubing around the 4 inch flange opening and you should be all set.
Step 3: Run a 4″ flexible line from the output of the inline fan to the outside of the grow tent. Tape with aluminum tape A four inch plastic dryer vent louvre was used to remove the air from the house.
6 inch flexible ducting can be taped directly around the flange of a four inch inline fan using aluminum tape.
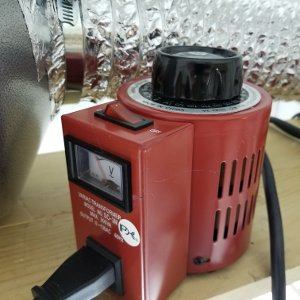
Step 4: (optional) Attach a fan controller. This avoids having the inline fan run full speed which is very loud and provides too much negative pressure within a small grow tent. In this case a variac transformer is being used. These are a bit better then the cheaper fan controllers (the kind with a low medium high setting option). The Variac controller act lets you adjust to whatever voltage you want to perfectly fine tune the fan’s exhaust output. Learn more about selecting the best fan controller
Make sure to run enough air to properly cool your fixture
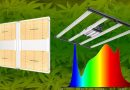
If you’re using a cool to or other air cooled fixture it’s important that you keep enough air moving through it to cool down the light adequately.
For example if you’re using a 1000 W HPS bulb and flowering in an air cooled fixture you should run a 6″ fan through that at full speed to ensure that enough heat is removed. This is especially important in cool tube fixtures which typically have glass that is very close to the bulb itself.
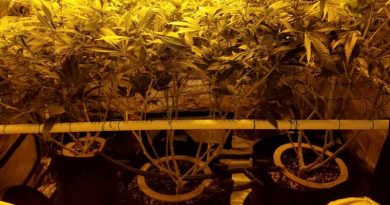
The small grow tent setup pictured uses a 600 W HPS so it’s not critical to run the fan at full speed therefore the fan controller can be used. But it’s better to overdo it than to risk having a bulb or the glass on your fixture overheat and crack.
A word of warning about odor control for air cooled light fixtures:
This fan set up pulled air through the fixture and was intended as a very short term solution used in the veg cycle only.
I would definitely not use this type of set up during flowering due to increased aromas: the position of the inline fan would suck air through the grow light fixture pulling in smelly unfiltered air through cracks within that fixture. This would bypass the carbon filter and stink up the exhausted air.
The solution? Push the air through the grow light.
If this were to be a more perminent set up the better thing to do would be to locate be in my fan on the opposite side of the grow light (before the fixture) so that it was pushing filtered air through the grow light. This would prevent any inadvertently unfiltered air from getting pulled through that fixture.
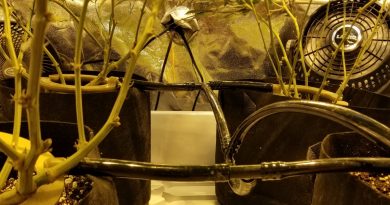
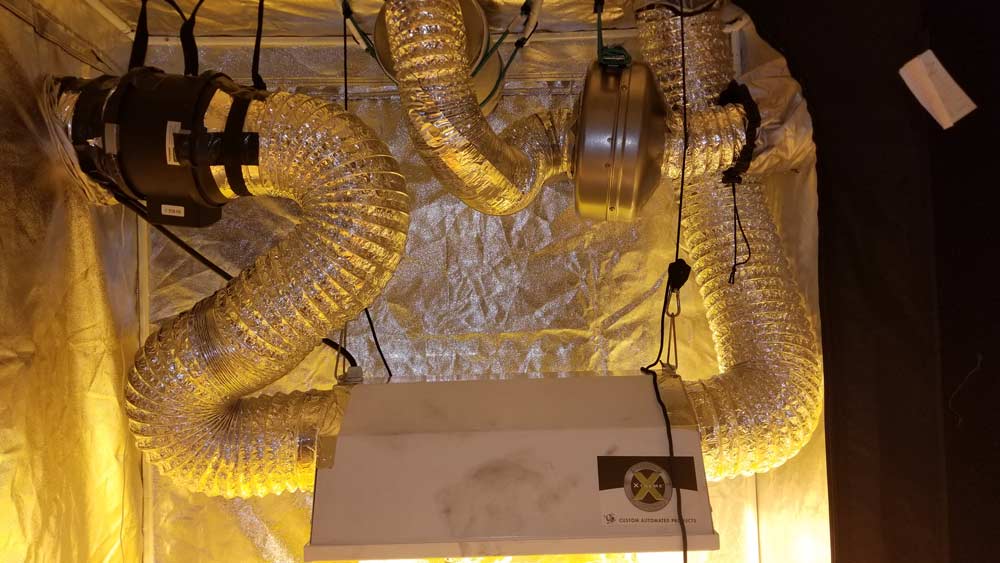
An even better solution would be to use the 2 fan system shown below.
A better setup would be to use a six inch fan to air cool the light fixture, and a separate four inch van to provide ventilation through a carbon filter. The 6″ fan pictured pushes air through the fixture, which is preferable to pulling it through because it prevents unfiltered air from being pulled through tiny cracks in the fixture.
How to upgrade the air-cooled lighting approach above by using 2 fans
A better set up for this air-cooled grow light would have two fans working for the flowering stage. One four inch fan would be used strictly to eliminate filtered air, and a second is inch fan would be introduced to run through the air-cooled light fixture.
While keeping a symbol fan set up is certainly one possible way to cool your lights, separating the fans lets you keep the heat that is removed from the light fixture within the grow room itself outside of the tent.
A Variac fan controller will let you reduce the flow of air through your inline fan. This will reduce noise, save energy, and allow you to create a more consistent environment in your grow tent or grow room.
This is much more energy efficient then it would be to push all that hot air directly outside. If you’re grow tent or grow room is located in the cold basement area that certainly makes sense to try and retain that heat. But depending on where you’re growing it may be desirable in warm areas to use such a single fan system connected to the outside of your house so that the heat is constantly removed instead of been re-introduced inside.
Another advantage is reduce power usage. The six inch fan attached to the air cooled lights can be powered by the same electrical timer used for the lights themselves, so it would only need to run when the lights are on.
The four inch ventilation fan could then run at a low speed using a fan controller which would mean less energy usage than if it was turned up high enough to cool the light. You could even hook up a temperature controller or a humidity controller to the 4″ ventilation fan which would only turn on the exhaust fan when needed to maintain the ideal humidity level and temperature for growing weed.
How to cool a 6" grow light fixture using a 4" inline fan
Description
Looking to cool a 6 inch air-cooled grow light with a 4 inch fan? Learn how to use a 4" inline fan to use with a 6" air cooled grow light fixture in a small 2'x4' grow tent environment.


")