A screen of green setup is one of the best ways to optimize the growth and yield of marijuana plants. The screen of green aka scrog method involves using trellis netting to train the plants to grow horizontally, resulting in an even canopy and maximum light exposure for all buds.
This screen of green growing guide will show you everything you need to know to begin scrogging cannabis plants.
Materials Needed for Scrogging
To get started with an indoor scrog setup, you will need a few key materials, including trellis netting or string, a trellis frame or support poles, and zip ties or twist ties.
Scrog net vs. string vs. elastic net
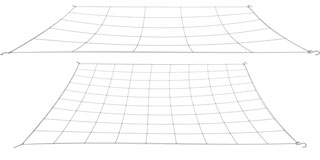
There are 3 ways to create a scrog net: a nylon trellis, an elastic trellis, or string.
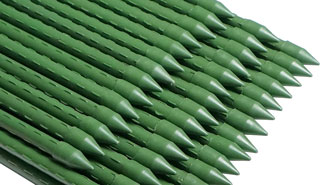
Elastic trellis nets attach easily to grow tent poles or trellis frames, and are easy to move up and down.
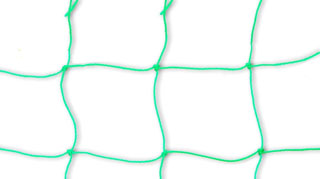
Nylon trellis netting is preferable for scrogging cannabis since it doesn’t have fibers that will get stuck on your buds. Large nylon trellis nets can be cut to size, and are a cheap way to create a ScrOG setup. Avoid nets with natural fibers that will stick to your buds. Attach to the frame with zip ties, twists, or copper wire.
You can also use elastic trellis nets proper ecifically made for scrogging. They’re easy to use and relatively cheap. The elastic can be hard to clean though. As a best practice when growing cannabis it’s important to sterilize your grow space between runs. You can dip your elastic trellis in a water/bleach solution to sanitize. But as residue from sticky buds accumulates on the netting it can’t be removed, so you’ll need to replace it or it will serve as a collecting spot for powdery mildew or insects.
A third method is to use nylon string running through a frame to form a grid. This is convenient because at harvest you just cut the string for easy plant removal and replace before your next grow, ensuring a clean trellis each run. It also allows you to customize the width of the squares to any size you desire. Avoid using natural fiber string which will stick to buds.
Building a scrog frame
Having a structurally sound frame for scrogging that allows you to lower or raise the trellis height is critical. PVC frames, wood frames, or stakes are the three most common methods for building a frame.
A PVC scrogging frame using 1/2″ pipes and 90º elbow corner connectors is easy to assemble, sturdy, and easy to clean. Attach a nylon or elastic trellis secured to the frame with zip ties or double wrapped twisties. Or drill small holes through the PVC and run nylon string through them to form a grid.
A wooden frame can be easily constructed using 2×3 or 2×4 inch boards. Drill holes a set distance apart the length of the boards to make a grid with string, or use eye hooks and string to make a grid. Be careful about using zinc-plated eye hooks as they will eventually rust, galvanized cost more but are more durable in moist grow area environments.
For large outdoor plants, the cheapest solution is to use large stakes to secure the edges of the scrog net. A sturdier alternative for an outdoor scrog setup is to build a wooden frame on top of a pallet. Consider building the frame high enough that you can also use it to cover the plant to prevent unwanted moisture. Add wheels to the bottom if you need to rotate or move your plants around, this provides easy access for pruning and defoliation.
Once you have selected your frame and trellis method, you can begin the process of setting up the screen of green.
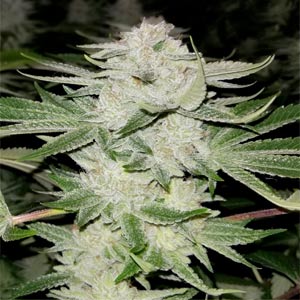
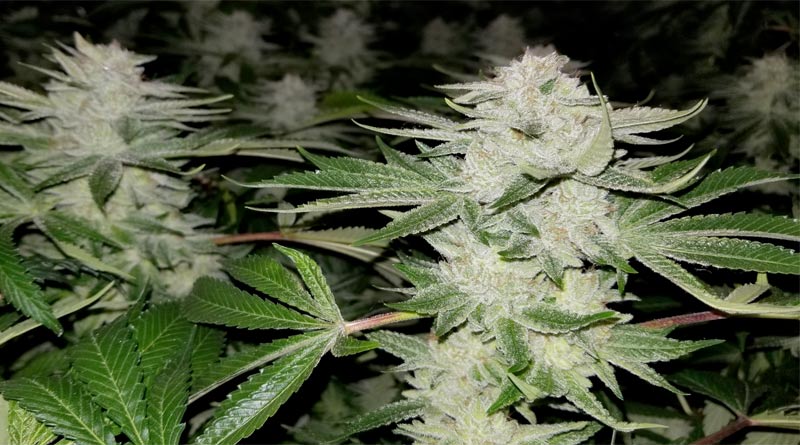
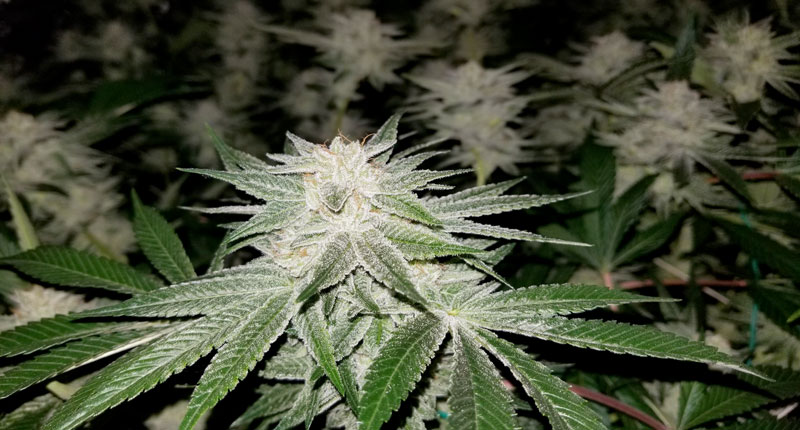
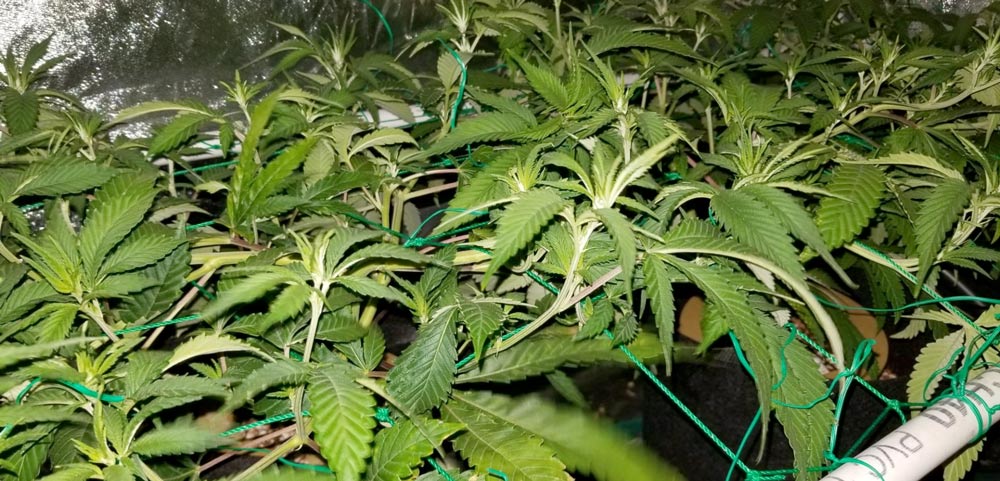
A cannabis cola late in the flowering stage growing through a nylon scrog net.
Setting up the Screen of Green
Start by installing the support poles or trellis frame in your grow area, then attach the trellis netting to the poles or frame using zip ties or string. Make sure the netting is taut and evenly spaced. The goal is to create a grid of squares that the plants will be woven through as they grow.
How big should the size of the trellis netting be for cannabis plants? You want to make sure that your grid spacing allows for the fan leaves around each cola. 4″ x 4″ squares for scrog netting works well for most plants, but may be too close together for wide, bushy cannabis strains.
Having fan leaves resting on each other can cause moisture issues leading to mold or powdery mildew. 5″ x 5″ squares on trellis nets work better in those situations. Make sure to look closely before purchasing as some trellis nets have 8″ or 12″ spacing which is much too large for a cannabis scrogging.
If you’re setting up a screen of green in a grow tent, the easiest solution is to buy elastic trolling netting with hooks that will clip to the poles. This is a good solution as you can lower and raise the frame as needed. The elastic tends to pull the unclipped portions of the trellis away from tent walls, collapsing the grid and reducing the amount of canopy that it will provide. Secure the length of the elastic net to the frame to resolve this.
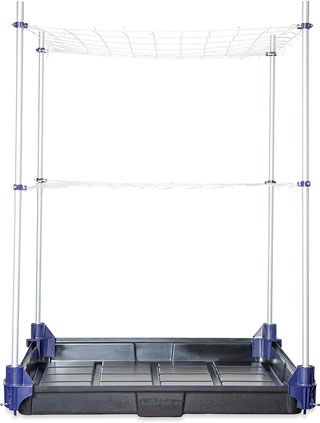
If you let your branches grow too tall you may need to install a second trellis layer later in flowering. The lower trellis can help spread and support the canopy earlier in growth, and the upper trellis will support fat colas which form that may cause branches to bend or snap.
When you add plants to an indoor scrog setup, spread out the taller branches to the edges to form a flat, even canopy. Keep it as low to the base of the plant as possible. Initiate flowering when the canopy reaches about 3/4 full.
Preparing Cannabis Plants for Scrogging
Before you start training your cannabis plants to grow in a screen of green, it’s important to prepare them for the process.
Plant selection
First, select plants that are healthy and vigorous, with strong stems and branches.
Outdoor plants can use 6′ plant stakes to support netting, an affordable and quick solution to making a trellis frame.
Clones work great for controlling height while scrogging since all the plants will grow at an equal rate. This helps you maintain an even canopy. The branch development of clones are a bit more random than those of seeds, so you won’t be able to make a plus shape using two sets of opposing nodes. But with a little pruning and staking you can train clone branches out evenly.
Seedlings have the advantage of having two nodes grow on opposite sides of the plant, letting you create 4 branches that grow in a north/east/west/south pattern that can be trained outward to fill in the trellis equally. This is very helpful to build out plant structure to fit within a square grid. But different phonemes grow at different rates, so even if you’re running multiple plants of the same strain grown from the same pack of seeds you may not see the same consistency of growth when maintaining the canopy.
Pruning and training young plants
Basic pruning early in the plants life will set you up for success. Timing is crucial – you want to begin training your plants when they are still young — ideally a few weeks old and soft, pliable branches.
Top the plant by removing the central leader when the plant hits 5-6 nodes. This will encourage wide bushy growth of side branches.
Don’t let the plant grow too high. If you’re using an older plant, chop the top off aggressively and train 4 lower branches to grow out in a + shape.
Use small stakes to grow the plant branches out horizontally. Metal wire or lengths of metal coat hangers work well. I prefer bamboo skewers notched at the top with a twisty since they’re easy to make.
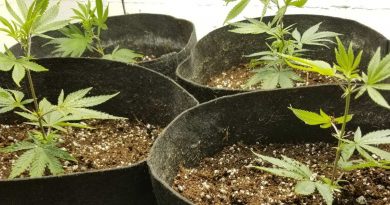
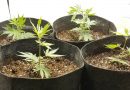
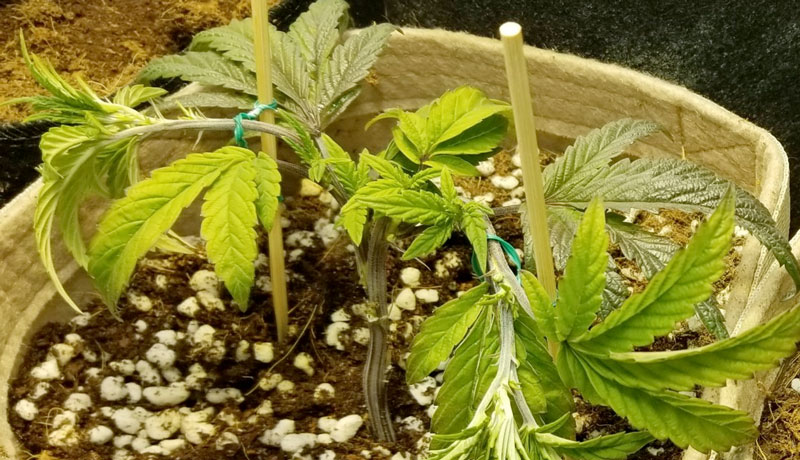
Young cannabis clones being trained with stakes to develop the branch structure needed for scrogging. Bamboo skewers with twisties work well, as do metal plant stakes.
Pruning and defoliation before placing under trellis
Before placing plants under a scrog net, prune and trim your plants to remove any excess foliage (particularly large lower fan leaves not getting much light) and ensure that they have a strong central stem to support the weight of the buds. You want to keep the plant wide and low, so the scrog net can be placed as low on the plant as possible.
Ideally the trellis is no more than one foot above the base of the plant, preferably 6-8″. The longer the branches, the more energy that gets wasted transferring nutrients from the roots to the bud tips. Later in flowering, longer branches may bend or break as heavy colas form.
Lollipopping the plants is recommended for an indoor scrog setup. This involves fully stripping the lower 1/3 to 1/2 of the plant so that growth is focused on the top areas that receive direct light. Don’t be shy. Remember that plants stretch the first few weeks of flowering, and this new growth will block out light on the areas of the plant below that were getting direct light when flowering was initiated.
Scrogging works well with heavy defoliation approaches such as the schwazzing method, where fan leaves are full stripped when flowering is initiated and again at 21 days into flower. Proper defoliation combined with a wide, flat canopy will allow for more bud sites to increase yield. But be careful not to overdo it, as too much defoliation (especially at the wrong times) can negatively impact bud growth and development.
How many branches are needed?
If your goal is just a grid of giant colas, begin training your plant early to have branches spread out and of equal length. The number of branches you want depends on the size of the canopy.
If you’re growing 4 plants in a 4×4 foot grow space, each plant will get 1 square foot. Having 9 colas per plant will let you fill out a 4″ x 4″ grid with one cola in every square.
Seedlings trained to grow in a “+” shape will have branches in each direction, and you can thin bud sites to allow for the desired amount of colas. Clones grow branch patterns that bit more irregular, but light training and pruning can get the plant structure needed.
When placing plants under nets, the most robust taller branches should be placed on the outside of the grid to even out the canopy during the initial indoor scrog setup. If you leave longer branches in the middle directly under a light they will quickly shoot above the rest of the canopy.
Keep in mind too many branches in a small space will compete for light, and this can impact plant structure. As plants stretch you’ll develop wispy, thin branches that overlap each other and receive less light. Eventually some will need to be removed. It’s better to thin smaller branches on the plant out earlier in growth vs. waiting until the overlap becomes an issue. You don’t want to be heavily pruning after weeks 4 of flowering on 8 week strains. Let the plants focus on bud production later in flowering by properly pruning throughout veg and early flowering.
If you initiate flowering after the canopy has fully filled out to the edges of the net, new growth will grow up away from the netting. In that situation you’re safe to just leave a few nodes at the top of each branch to form your canopy, with the lower leaves and bud sites removed on each branch.
If you leave too much plant material down low eventually it will get blocked from light and need to be removed anyway as the plant stretches. It’s better to remove it earlier so the plant can focus energy on higher value bud sites. If your plants stretch too far away from the netting, use a second layer of netting to support heavy colas on long branches.
The goal of plant training during scrogging is to have a canopy where all bud sites are spaced out enough to receive light and allow for adequate circulation, without sparse areas where light passes through to the floor.
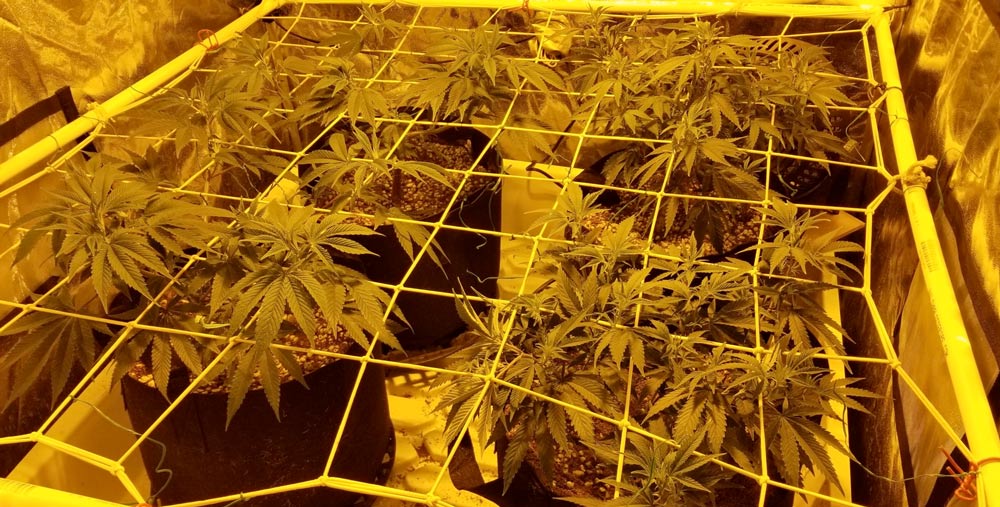
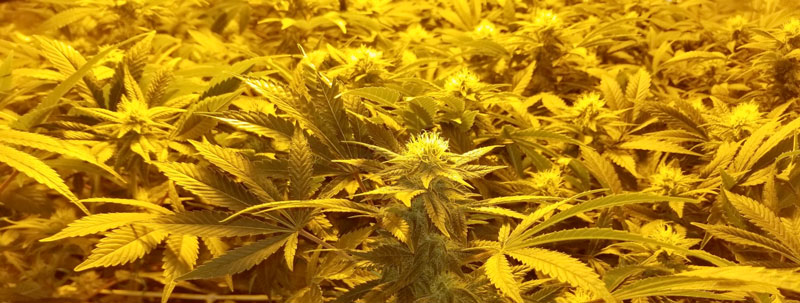
Cannabis plants scrogging in a 2×4 grow tent using a PVC frame and a nylon scrog net.
Training Cannabis Plants in a Screen of Green
The process of training cannabis plants to grow in a screen of green is an art form. It involves tucking the branches through the trellis netting to create an even canopy, and pruning and defoliating when necessary. This will help maximize the light exposure for all buds and ensure that they develop evenly.
To train your plants, gently tuck the branches through the squares of the scrog netting, making sure to spread them out to keep a flat canopy. As the plants continue to grow, you will need to continue tucking the branches under the netting to maintain an even canopy. Some scrogging guides recommend weaving the branches in and out of the trellis, but this makes it a hassle to remove the plants at harvest unless you’re using string that can be cut.
When the canopy is about 3/4 full it’s time to initiate flowering. As branches on the plants continue to stretch, keep tucking in the branches to maintain a flat canopy top.
Maintaining the outer canopy
Keep in mind that for an indoor scrog setup the area of the plant directly below the grow light receives the most light intensity and usually grows the quickest. Branches at edges of the canopy receive less light. If you’re too quick to tuck down the branches and these growth tips become a few inches lower than the rest of the branches, they’ll stay shorter and receive less energy, regulating in reduce bud size.
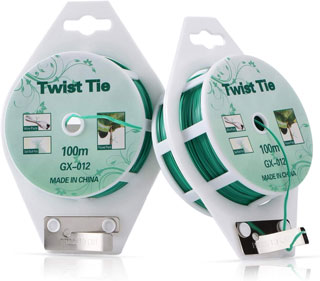
A roll of twist ties is invaluable when scrogging to fine tune bud spacing.
It’s best to let the branches further from the light source grow a few inches taller than the rest of the canopy before tucking them under a new outer grid square. That way after you tuck the branch it will still be the same height as the rest of the canopy, ensuring that those outer branches continue to grow at a steady rate.
In a grow tent, aim to completely fill the width of your tent once stretching has finished for maximum yield (assuming your grow light has adequate coverage at the far corners of the tent). This is why you need to initiate flowering when the canopy is about 3/4 filled, allowing for the stretching growth to fill the rest out.
If you’re in a grow room you can go as wide as your light coverage allows. Remember that light intensity is greatest directly under the light, and it decreases at the far edges. Make sure not to let branches extend out beyond areas of strong light or the outer buds will be smaller and less dense.
Maintaining proper spacing
Maintaining proper spacing between plants is important when scrogging to ensure adequate air flow and prevent overcrowding. Use lengths of twisties to fine tune spacing of branches, and to pull down any tips that start overtaking the rest of the canopy.
Make sure you don’t allow plants to get too close under your trellis in the vegetative growth stage, allow lots of room to stretch during the start of flower. Otherwise you’ll run into issues with leaves blocking bud sites, or with wet spots forming between overlapping leaves as the plants release moisture during photosynthesis. Plants touching each other also increases the risk of spreading insects or diseases such a powdery mildew.
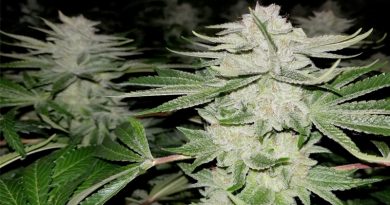
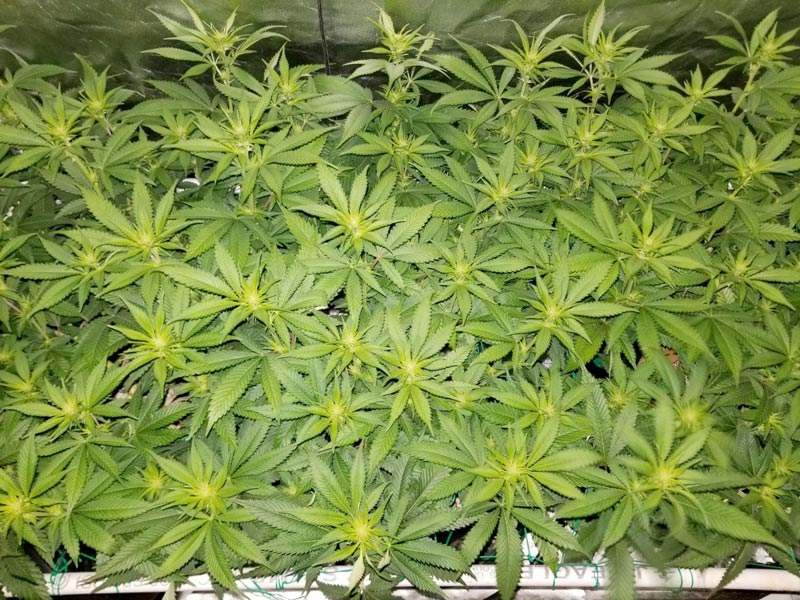
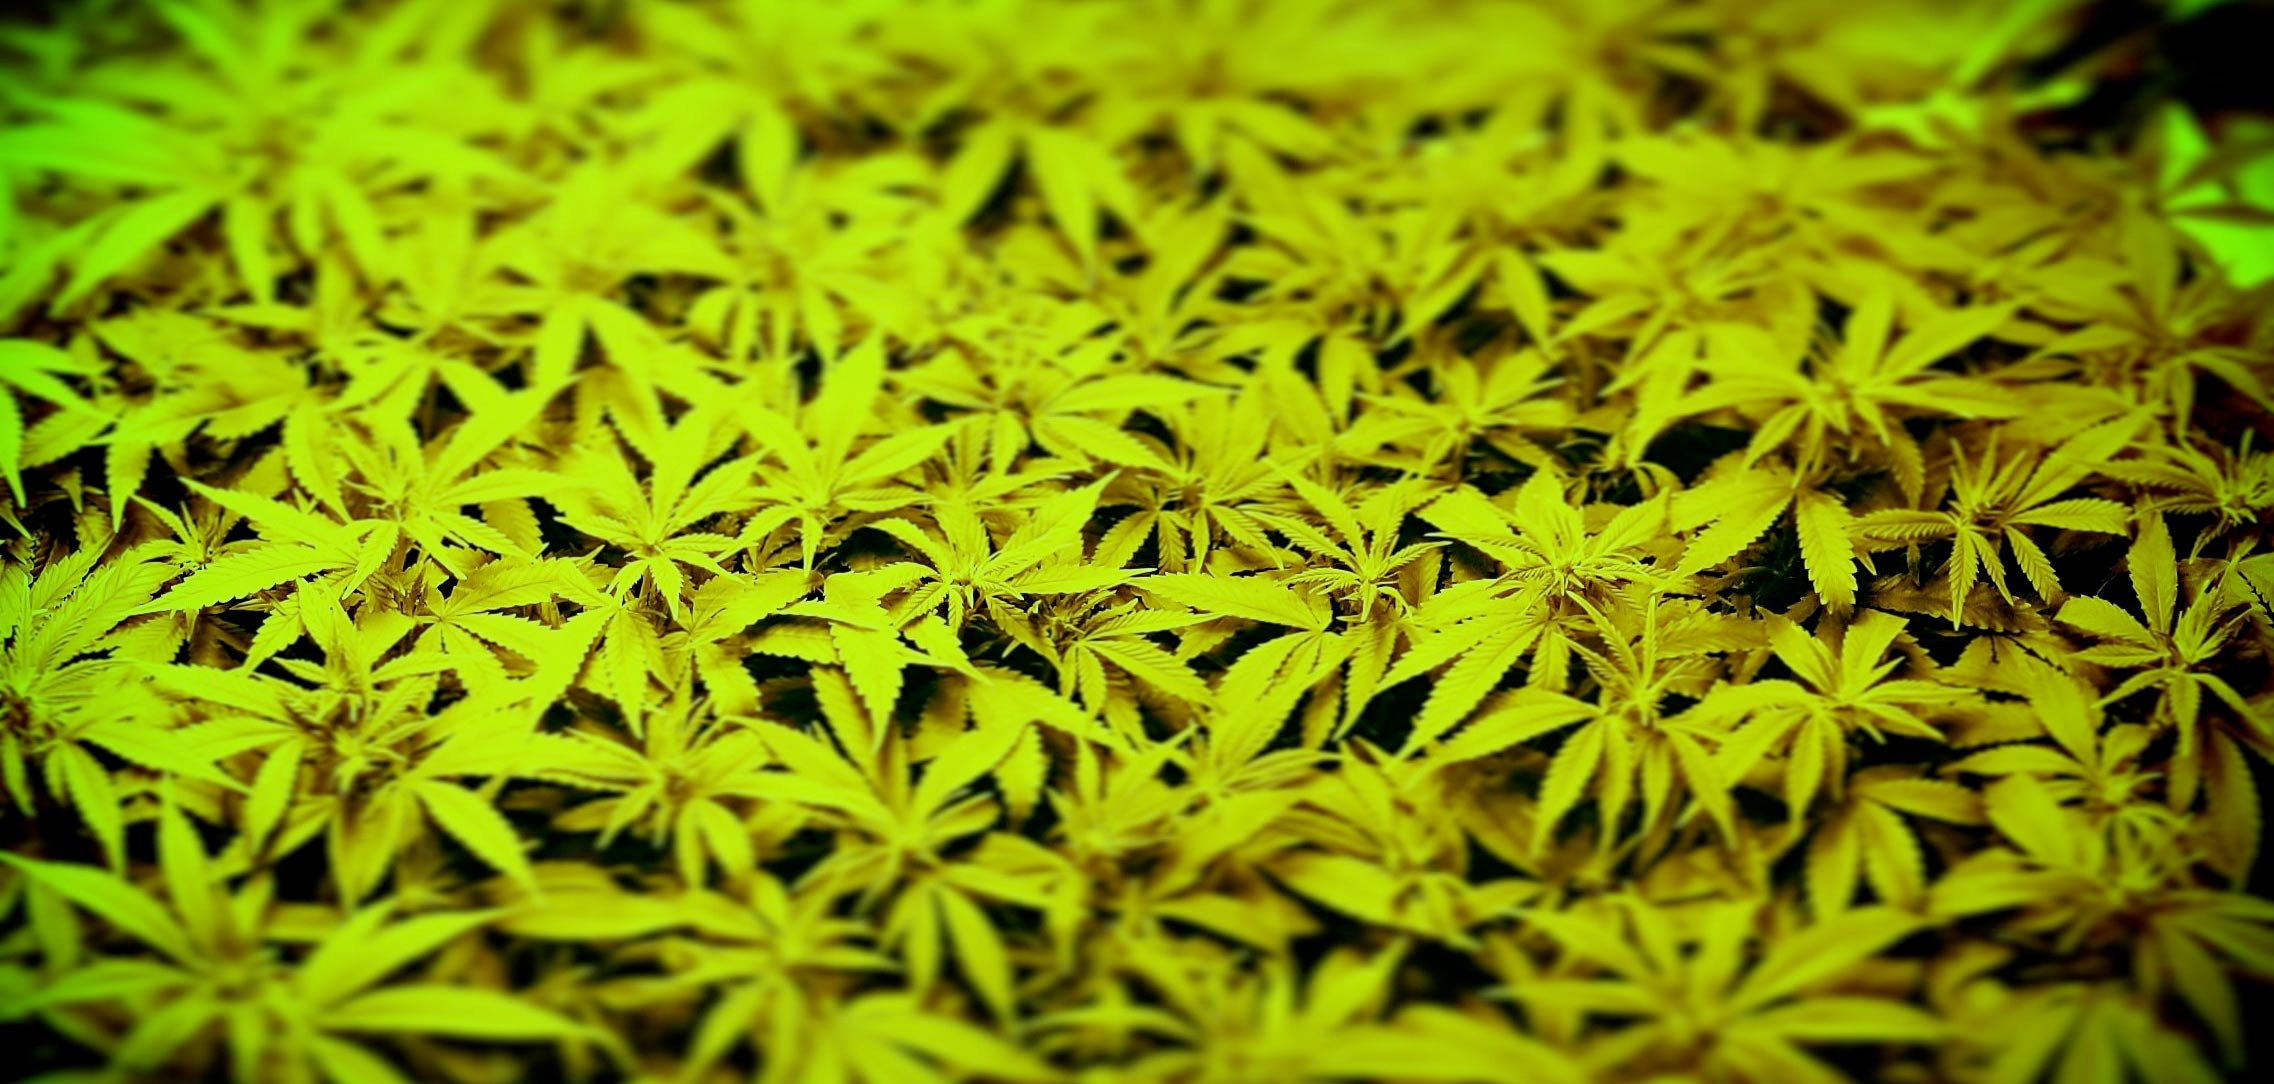
Cannabis plants at the start of flowering in an indoor scrog setup in a 2×4 grow tent. Note the overlapping fan leaves which can lead to moisture problems. These plants underwent a heavy fan leaf defoliation 21 days after flowering was initiated.
Maximizing Bud Yield in a Scrog Setup
Using a screen of green setup can result in a significant increase in marijuana yield. Weed plants tend to grow in a pyramidal shape, which results in a large central cola with lesser growth on the edges. By flattening the canopy, you create a series of thick colas. This eliminates wispy, lower quality buds from the lower areas of the plant.
Bud sites closer to the light source receive the most light intensity and produce the most yield. If you double the distance between a bud and the light source, it receives 1/4 the light intensity (something called the Inverse Square Law). Using a ScrOG to create a flat canopy allows you to get a similar amount of light on the colas at the edge of the plant, resulting in much stronger bud development and density.
To optimize plant growth and yield in an indoor scrogging setup, it’s important to keep a close eye on your plants and address any issues that arise. This may include:
Adjusting the spacing between branches or plants
Pruning and trimming as needed, particularly undergrowth receiving no light and large fan leaves covering bud sites
Thinning out small twiggy branches and new growth that fights for space with other bud sites
Ensuring that the plants are receiving adequate water and nutrients
Maintaining air circulation under and through the canopy, and defoliating fan leaves that overlap or prevent good circulation
Choosing the right genetics and picking a scrog strain that had dense, compact growth such as an indica strain — avoid leggy sativa strains with too much space between bud sites.
By carefully monitoring your plants and providing them with the proper care, you can maximize bud production and achieve the best possible yield. Always watch humidity levels in your grow area, because high moisture levels over 60% combined with the close proximity of plant growth in a ScrOG setup is a recipe for mold and powdery mildew issues.
Drawbacks of the Screen of Green Method
While the value of using a scrog setup is huge, there are a few drawbacks to be aware of.
Moisture issues in overpacked canopies lead to problems.
Make sure to thin out growth a defoliate regularly to avoid fan leaves resting on each other.
Allow for space for air circulation and avoid even small pockets of too dense growth.
Monitor your setup closely and adjust as needed.
Avoid scrogging with strains that are prone to powdery mildew.
Once you weave plants into a scrog net, you can’t move the plants around easily for maintenance.
If you use one grow tent or grow room for vegetation and another to flower, you won’t be able to train your plants in veg and then transfer to the flowering area.
You also can’t turn plants for easier access to the interior sections of your canopy.
Watering can be difficult if you need to reach under a low scrog net. Consider making an automated cannabis watering system to avoid needing Inspector Gadget arms to reach plants further in.
You need to time the flowering stretch correctly to avoid plants that grow too far above the trellis.
Fat colas on tall branches won’t be supported well by the trellis, which can cause branches to fall over later in flowering.
Consider adding a second layer of trellis netting above the first one to support buds that have stretched too far, or use yoyo hangers.
While both screen of green vs. sea of green can maximize yield with a flat canopy, scrogging allows you to do it with a lower plant count.
Screen of Green vs. Sea of Green
The difference between screen of green vs. sea of green setups is in the number of plants used to create a flat canopy.
In a sea of green setup a grower would use many small, younger plants, so that each would grow up to form an even canopy. In a screen of green (SOG) fewer plants are used and they are trained out for a longer time into a wide flat canopy.
Both systems have the same goal: to maximize the area of bud sites receiving strong light intensity.
The sea of green method requires a much higher plant count, but has the advantage of using younger plants requiring less vegetative time.
The screen of green yield per plant is much higher than the sea of green yield, which is helpful for growers in areas that limit the number of flowering plants. An indoor scrog setup is the best way to get the most yield out of a small number of plants. You’ll need to veg plants longer, but you’ll greatly increase yield per plant.
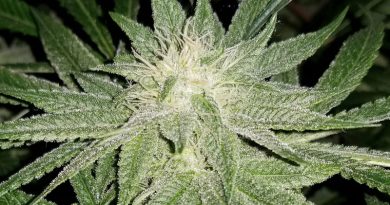
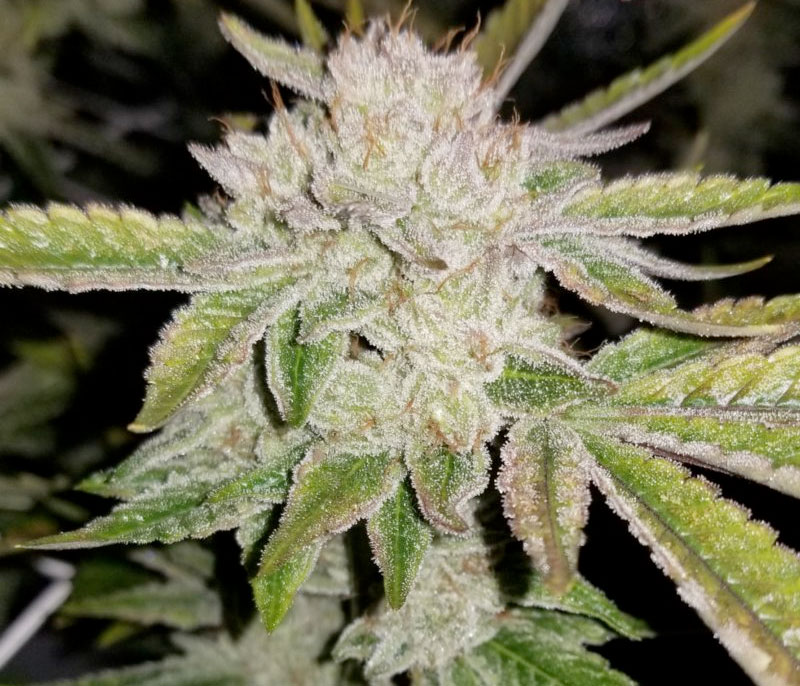
A cannabis bud growing on the outside of the canopy in an indoor s.c.r.o.g. setup.
Summary: Indoor Scrog Method
In conclusion, using a screen of green setup is an effective way to maximize the growth and yield of cannabis plants.
By properly setting up the screen of green, selecting the right plants, and training them to grow horizontally, you can create an even canopy and ensure that all buds receive maximum light exposure.
The indoor scrog method can result in significantly higher yields of high-quality marijuana with improved bud density and the reduced amount of larfy popcorn buds. With the right care and attention, you can achieve great results on your very first run.
Scrog Method: A Screen of Green Growing Guide for Weed Plants
Description
Learn the scrogging method for cannabis plants. including how to set up your scrog frame and trellis, and how to train plants to produce even canopy to maximize yield and bud quality.


")